Most buyers don't lose money on a wall printing machine because they picked the wrong brand. They lose money because no one told them what questions to ask before signing the purchase order.
A slick sales demo looks the same whether the print head has 800 hours of life left or 8,000. The resolution spec sheet reads the same whether the ink fades in eight months or holds strong for three years outdoors.
You're evaluating machines right now. Maybe you're launching a new business. Maybe you're scaling an existing one. Or maybe you're justifying a capital purchase to a partner. Either way, another brand comparison won't help you. You need a framework.
This guide breaks down eight technical indicators that separate a capable wall printing machine from an expensive disappointment. Each one comes with real performance benchmarks so you know exactly what to look for.
Wall Printer Print Head Quality and Nozzle Technology Lifespan
The print head is where your investment either holds together — or slowly bleeds out.
Every wall printing machine runs on one of a few print head types. The price difference between them is real. The lifespan difference is even larger. And the total cost gap over two years of production work? That's the number most salespeople hope you never add up.
Here's the math.
The Cost of Choosing the Wrong Head
An Epson XP600 head costs around €350. Under real wall-printing workloads, it lasts about three months. Over two years, you replace it eight times. That's €2,800 in print heads alone — on a machine that was likely sold to you as a low-cost entry point.
The Epson DX7 is a clear step up. It carries 1,440 nozzles across 8 channels and supports CMYKW configurations. It lasts 6–12 months under regular use. At €1,200–1,300 per head and about 15 months of real service life, you spend close to €3,500 over two years. Better — but still not industrial grade.
The Epson I3200 is where the numbers shift. It packs 3,200 nozzles across 8 channels with simultaneous CMYKW output. The rated lifespan hits 3–5 years under regular use. One head. Your cost per square meter drops. So does your downtime risk.
What the Specs Mean for Your Wall Jobs
Resolution numbers tell part of the story. The XP600 tops out at 1440 dpi. The DX7 reaches 2880 dpi. The I3200 pushes into configurations rated at up to 9,600 dpi — enough output quality for gradients on large murals to stay smooth, with no banding at the edges.
But resolution only holds if the nozzles stay healthy. Industrial heads can handle the physical demands of wall printing: uneven surfaces, solvent-heavy environments, and the mechanical stress of continuous vertical movement. Consumer-grade heads can't keep up. Past 500–1,000 square meters of full-coverage mural work, an XP600 starts to fail — missing lines, horizontal banding, ink spray that ruins billable jobs.
The Benchmarks Worth Memorizing
Pass threshold:
- Print head class: industrial-grade piezo — minimum Epson I3200 or an equivalent Ricoh UV head
- Nozzle count: ≥ 3,000 nozzles
- Vendor-stated lifespan: 3–5 years under regular use
- Ink system: negative-pressure supply with inline filtration — this is non-negotiable for nozzle longevity
Excellent threshold:
- Closed-loop constant-pressure and constant-temperature ink manifold
- Auto-capping, wipe, flush, and humidification station — protects nozzles during idle periods
- Micrometric anti-collision sensor with servo retract — one undetected wall bump on an industrial nozzle plate can turn a 5-year head into a 5-month one
- Tool-less hot-swap head design — target replacement time under 30 minutes
Ricoh industrial heads (GH2220-class) perform at a similar level to the I3200 for UV and solvent applications. Theoretical ratings sit at 15,000–20,000 hours with proper maintenance.
Real print head evaluation isn't a spec sheet comparison. It's a cost-per-head-over-24-months number placed next to a realistic replacement schedule. Run that number first.
Wall Printer Resolution DPI and CMYK Wall Printing Technology Standards
Resolution is one of the most abused numbers in wall printer marketing. Here's what the spec sheet won't tell you: a machine printing at 2880 dpi onto a rough concrete wall doesn't deliver 2880 dpi of visible quality. The wall controls that. And the wall doesn't care about your spec sheet.
This distinction separates buyers who get what they paid for from buyers who don't.
What DPI Means on a Wall
Large-format output viewed from three meters away needs just 100–150 dpi at final print size to look clean to the human eye. A mural covering a full hotel lobby wall, prepared at 150 dpi, will look sharp. Prepare it at 300 dpi and you get minimal visible improvement — but much larger files and slower RIP processing.
So why does mechanical print head resolution matter at all?
Higher mechanical dpi — 1440 to 2880 dpi — isn't about adding visible detail at distance. It controls dot placement precision, micro-text edge sharpness, and gradient smoothness. A machine running 2880 × 1440 dpi modes handles a sky gradient or a brand logo transition in a way that a machine locked at 720 dpi simply can't match. The difference shows up in the blends. It shows up in the edges of 5mm lettering. It shows up when a corporate client holds their Pantone swatch next to your output.
The CMYK+W Standard You Should Demand
Any commercial wall printer worth evaluating must support CMYK plus a dedicated white ink channel — both running together in a single pass.
White ink isn't optional. On a dark grey wall, CMYK ink printed without a white underbase looks flat, desaturated, and muddy. The white layer acts as a neutral ground. It lets cyan, magenta, yellow, and black sit true. Without it, your color gamut collapses before the job is even finished.
A competent white ink system comes down to even coverage and clog resistance. Patchy white underprint produces blotchy color on top. That's the kind of result that looks passable in a dim demo room — and embarrassing in a client's boardroom.
The Benchmarks
Pass threshold:
- Mechanical output resolution: ≥ 1440 dpi (native head or multi-pass)
- Color system: CMYK + white ink channel, both active in a single pass
- Artwork file standard: ≥ 150 dpi at final mural size — no visible pixelation at 3m viewing distance
- White ink: uniform underprint across full-coverage areas, stable against clogging during idle periods
Excellent threshold:
- Multi-mode resolution: 2880 × 1440 dpi with variable-pass strategy
- ICC-managed color workflow per media type and environment; ΔE target < 3 against brand colors
- RIP supports spot color mapping (Pantone / brand swatches), layered CMYK+W sequencing, and halftone algorithms that cut banding in gradients
- Motion control: precision linear rails with encoder-based closed-loop feedback — this is what delivers on the dpi number the spec sheet promises
The Acceptance Test Worth Running
Before any purchase commitment, request a 1:1 proof printed on-site. The test file should include fine text at 3–5mm, a full sky gradient, deep shadow regions, and a brand color swatch.
Check four things:
Text edges — jaggedness or doubling signals a mechanical or RIP problem
Dark areas — shadow regions should hold texture, not collapse into flat black blobs
Gradients — no visible bands, no abrupt tone jumps
Color match — close to the reference swatch; aim for ΔE < 3 if you have a measuring instrument on hand
A machine that passes all four on a rough substrate is doing something right. One that fails any of them on a smooth demo panel isn't ready for commercial work.
UV Wall Printer Ink Durability and Surface Compatibility
Ink is where wall printing jobs fall apart — not in the demo, not in the first month, but eighteen months later. A client sends you a photo of their faded lobby mural and wants answers.
The answer, almost always, is that nobody matched the ink system to the job before the contract was signed.
UV wall printer ink gets evaluated on three things: outdoor weathering resistance, adhesion to the target surface, and substrate compatibility range. Get all three right and you have a system that holds up. Miss any one of them and you're facing a warranty dispute or a free reprint at your own cost.
Durability Benchmarks That Mean Something
Here's where most suppliers go vague. Don't let them.
Outdoors, unprotected: commercial-grade UV ink should hold for 2–3 years on exterior walls under normal UV and moisture exposure
Outdoors, with overcoat or varnish: that number moves to 5+ years — this is the target for any job on a building facade or exterior signage wall
Indoors: UV wall printing delivers 4–8 years of stable color on interior surfaces. That makes it the right call for hotels, malls, and corporate environments
The gap between 2 years and 5 years isn't magic. It's a protective topcoat. On any exterior project, overcoat application isn't optional — it's part of the ink system.
Rigid vs. Flexible: The Decision That Matters Before You Buy
Most sellers won't bring this up. You should.
Rigid UV ink cures hard. It works best for stable indoor substrates — ceramic tile, smooth plaster, interior concrete — where the wall doesn't flex and temperature stays consistent. Put rigid ink on an exterior wall that expands in summer heat and contracts in winter cold. You'll see cracking and adhesion failure within a season.
Flexible UV ink keeps its elasticity after curing. It moves with the substrate. For outdoor walls, mixed indoor-outdoor environments, or any surface with temperature swings, flexible formulation is the right choice. Pair it with a primer and a protective overcoat, and the system holds.
Surface Compatibility: What UV Ink Works On
UV wall printing covers a wide substrate range: concrete, brick, plaster, stone, ceramic tile, glass, metal, wood, acrylic, PVC, plastic, and leather all appear on standard compatibility lists. That range is a real advantage over solvent or latex systems.
The catch is surface energy. Low-energy or factory-coated surfaces — certain metals, sealed tiles, treated wood — won't bond without an adhesion promoter applied first. Skip the primer on a difficult substrate and adhesion failure can show up within months. Ink quality won't save you there.
Before committing to any machine-ink combination, ask for:
- A third-party UV aging report showing outdoor weathering performance
- A cross-hatch adhesion test result for your specific wall material
- VOC compliance documentation for enclosed spaces like hospitals or shopping centers
UV inks cure fast under the lamp. That compresses production time — one manufacturer benchmark claims UV curing pushes throughput up by up to 40% versus traditional coating methods. That's a real operational advantage. It holds up only if the ink was right for the surface to begin with.
The Pass/Excellent Benchmarks
Pass threshold:
- Outdoor durability: ≥ 2–3 years unprotected; 5+ years with overcoat
- Indoor durability: ≥ 4 years on interior surfaces
- Substrate range: confirmed compatibility with concrete, brick, plaster, tile, glass, and metal at minimum
- Adhesion promoter available for low-energy surfaces
Excellent threshold:
- Flexible UV formulation rated for exterior use
- Supplier-provided primer and overcoat system matched to the ink chemistry
- Third-party weathering and adhesion documentation on file
- VOC compliance certification for indoor commercial environments

Wall Printing Machine Speed and Production Mode Trade-offs
Speed is the number quoted in showrooms. It's almost never the number that shows up on your job site.
A supplier tells you the machine runs at 12㎡/h. That's true — at 360×720 dpi, 2-pass draft mode, on a flat demo panel. Load a real commercial job at 720×1440 dpi with 6 passes, and that number drops to around 2㎡/h. A 20㎡ wall now takes ten hours of pure print time. Add setup, realignment, and the reprint you'll need when the step motor loses position mid-run. The real number is worse.
This is the gap between marketed speed and production speed. It's where underequipped machines eat into your margins without warning.
The Three Modes You Need to Understand
Any wall printing machine worth buying should offer three distinct production modes:
Draft mode (360–720 dpi, 2–3 pass): Use this for position checks and color calibration — not for billable output. Typical speed: 8–12㎡/h on entry-level machines.
Standard mode (720×1440 dpi, 4–6 pass): This is the workhorse mode for paid commercial jobs. This is the number that matters. Entry machines: 3–4㎡/h. Mid-range dual-head machines: 5–7㎡/h.
High-precision mode (1440 dpi+, high pass): Use this for murals viewed up close — hotel lobbies, retail interiors, premium residential. Entry machines: 1.5–2㎡/h. High-end machines: 4–6㎡/h.
Draft mode runs 2–4x faster than standard mode. A supplier who shows you only draft speed is showing you the least useful number on their spec sheet.
What Separates Entry Machines from Mid-Range at Scale
The real-world gap becomes clear in a single workday.
Take a standard interior project: 25–30㎡ of wall coverage. On a mid-range machine at 5㎡/h in standard mode, that's five hours of print time. An 8–10 hour workday fits two complete projects — with buffer for moving, setup, and client communication.
On an entry machine at 2–3㎡/h, those same two projects take two full days. That's not a minor inconvenience. It's the difference between a business model that works and one that can't handle volume.
The core mechanical reason: servo drive systems vs. stepper motors.
Servo-driven machines use closed-loop feedback. They raise acceleration frequency without losing positional accuracy. The result: 30–50% more speed at the same resolution compared to stepper-based systems. Plus, they don't lose steps under load.
A stepper motor on a lightweight frame, pushed hard, produces horizontal banding and misregistration. One large-area reprint can cut your day's output in half.
The Benchmarks
Pass threshold:
- Standard mode (1440 dpi equivalent): ≥ 3㎡/h measured over a continuous ≥5㎡ print run
- Three-mode support: draft / standard / high-precision — all with documented dpi, pass count, and actual speed
- Power-resume / job-resume function: non-negotiable. One mid-job power failure on an entry machine can write off hundreds of euros in materials and time
Excellent threshold:
- High-precision mode: ≥ 5–6㎡/h at 1440 dpi equivalent — a clear class separator
- Servo closed-loop drive with S-curve acceleration and vibration compensation
- Multi-job queue with automatic vertical/horizontal step-distance compensation — documented to deliver ≥ 40% effective capacity gain through lower reprint rates and faster setup
The One Test That Exposes Inflated Speed Claims
Before you buy, request a live print test. Not a recorded demo. Not a spec sheet. Not a reference video from a controlled environment.
Ask the supplier to print a 5㎡ standard color gradient file on a surface with slight unevenness at 720×1440 dpi, 4–6 pass mode. Time it from first ink drop to completion.
Calculate the actual ㎡/h yourself.
If they hesitate, you already have your answer.
Sensor Automation and Anti-Collision Systems for Direct Wall Printer Operation
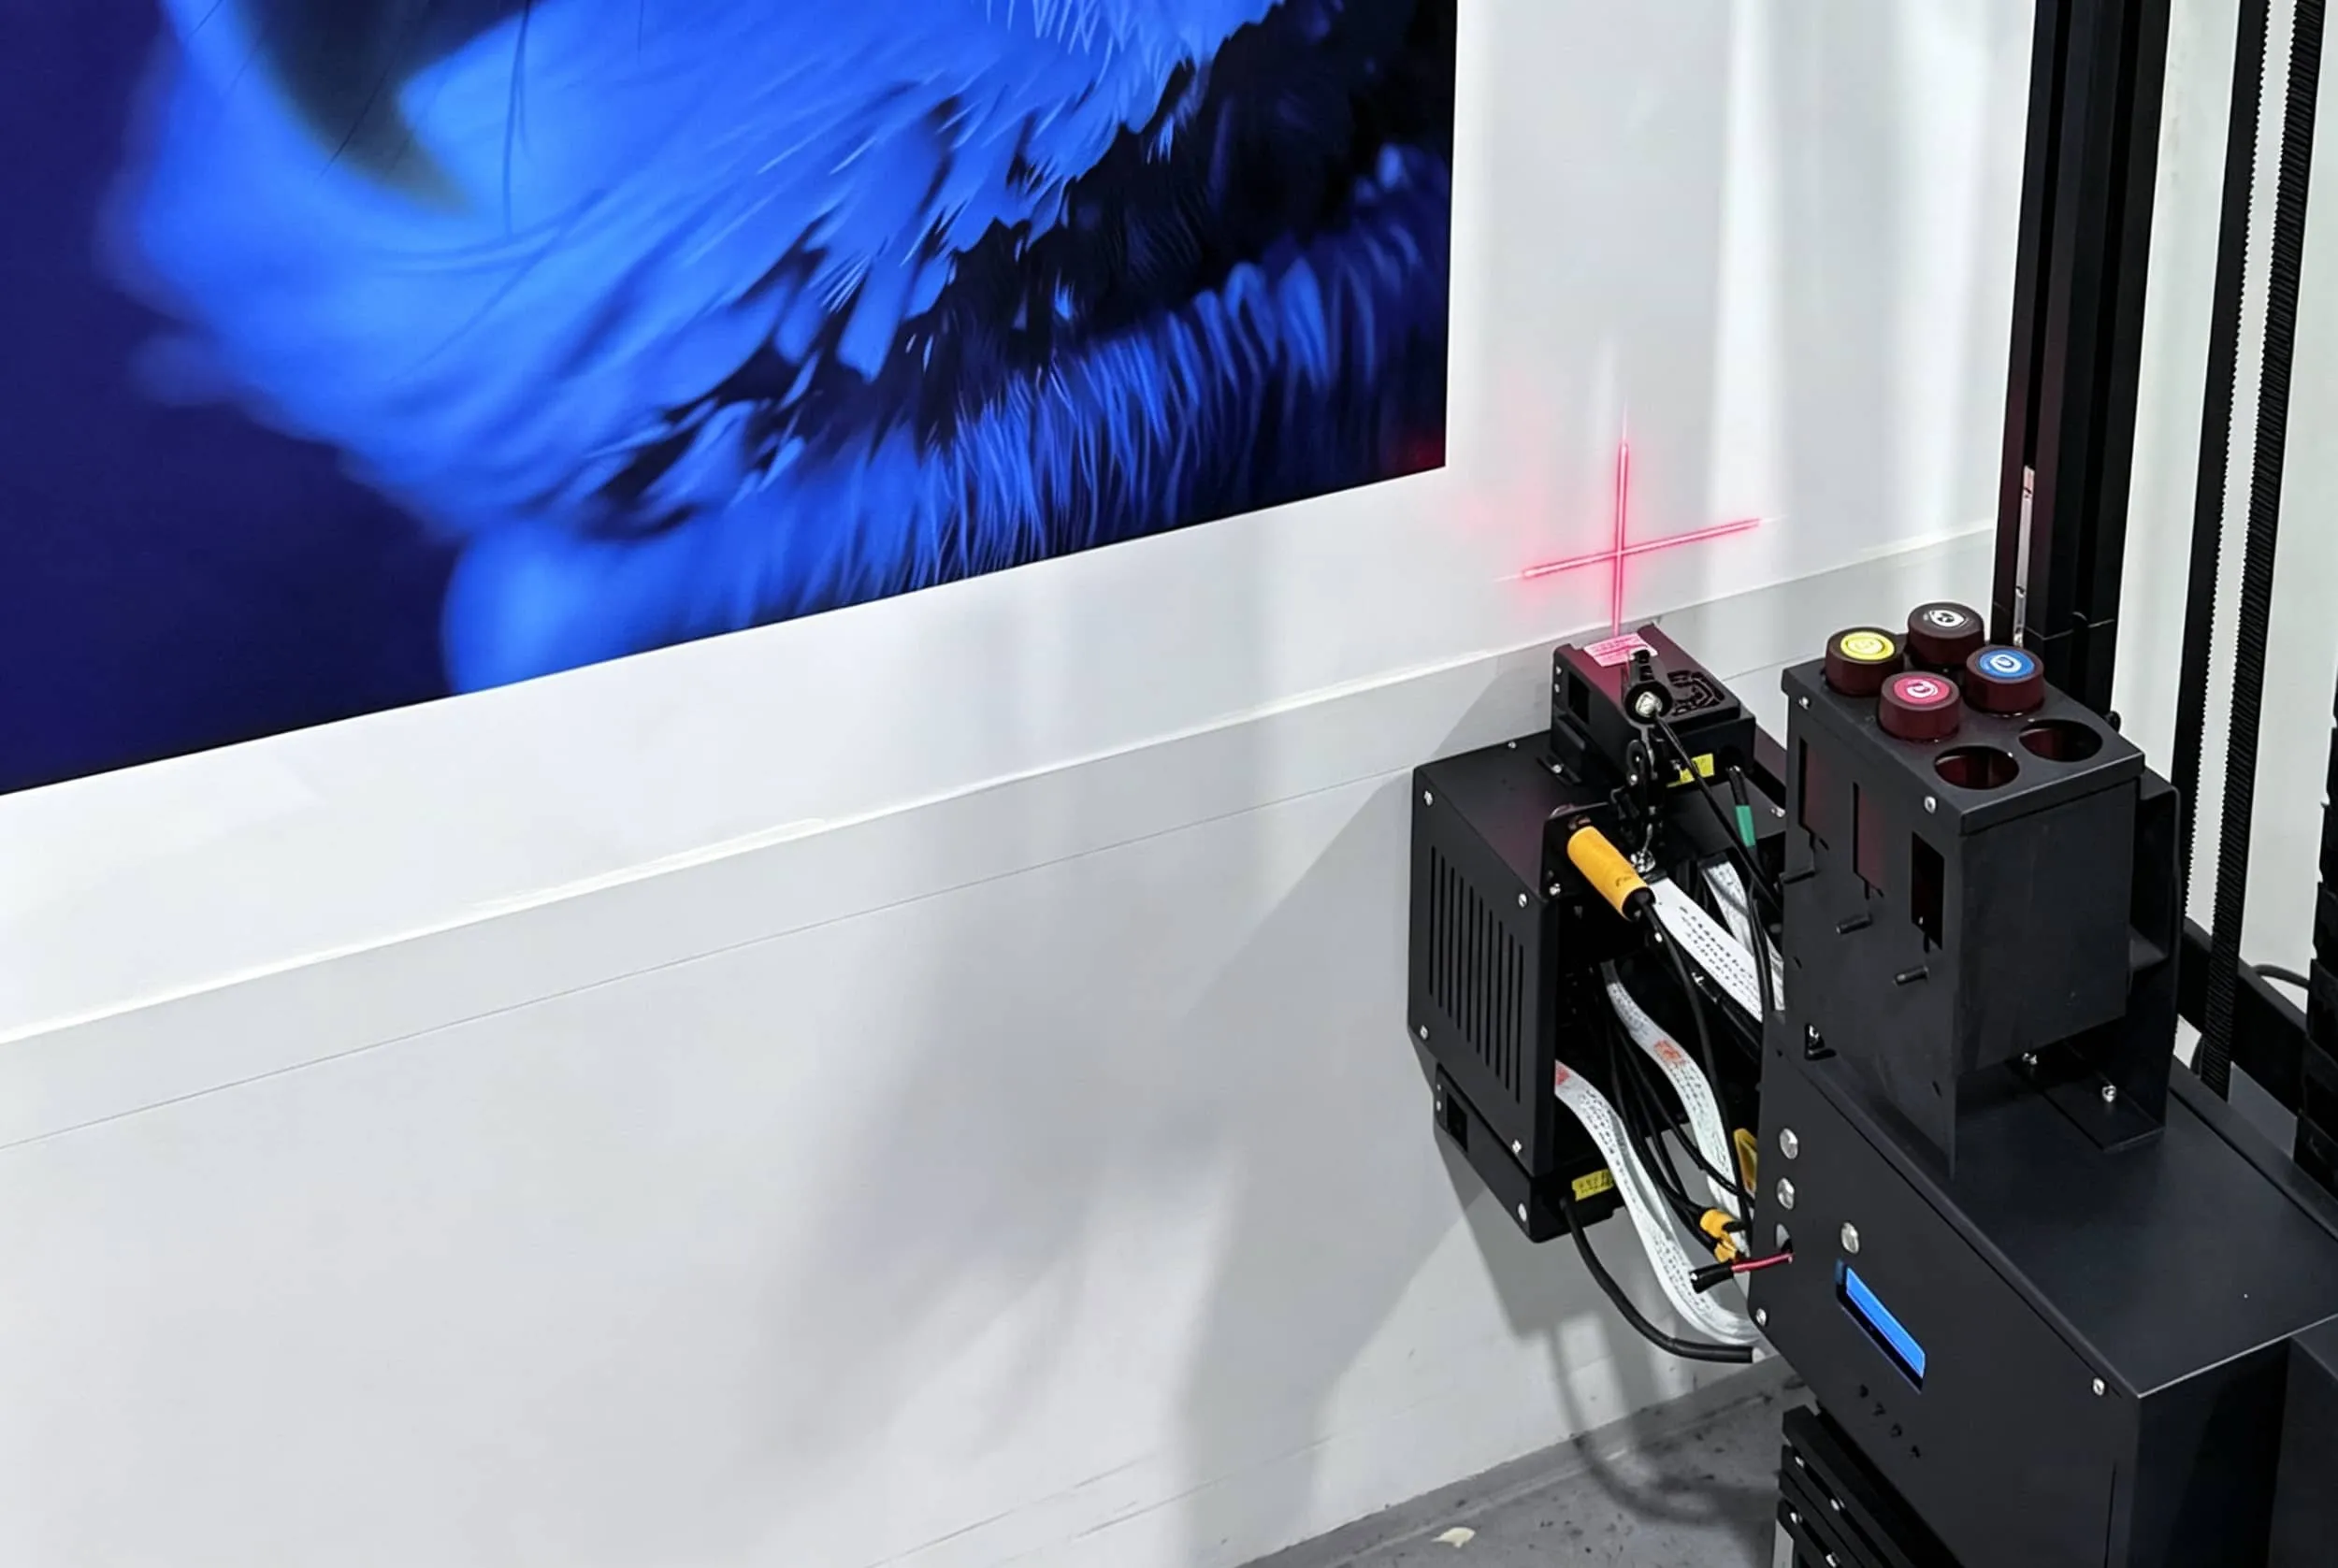
Walls lie. Every wall you print on has bumps, bulges, cable conduits, plaster ridges, and subtle tilts that no spec sheet will warn you about. A machine without intelligent distance sensing doesn't adapt to that reality — it collides with it.
How the Sensor Gap Separates Capable Machines from Costly Ones
Entry-level wall printers depend on manual leveling. You shim the base feet, guess at flatness, and hope the wall cooperates. On bare concrete or gypsum board seams, it rarely does. The wall bulges closer than the designed nozzle gap — 8–12 mm is standard — and the image over-inks and blurs. Pull back too far, and color density drops. Worst case: the printhead strikes a protruding socket or plaster ridge. One contact event on an industrial nozzle plate creates damage that costs far more than the job was worth.
Pass threshold: Any commercial wall printer needs at least one ultrasonic distance sensor with auto-stop and alarm logic. The gap drops below the safe threshold, the machine halts, and the operator must confirm before it resumes. That's baseline protection — not a feature to be impressed by.
Excellent threshold: Dual-sensor architecture — one upper, one lower — running high-frequency laser triangulation at ≥50 Hz sampling rate, feeding a closed-loop servo Z-axis. This setup tracks curved surfaces, inclined facades, and round columns in real time. It holds nozzle-to-wall gap within ±0.5 mm while the gantry moves at normal print speeds of 50–150 mm/s.
The AntPrint M-series runs upper and lower ultrasonic dual-sensing with automatic positioning — a real production example of this architecture. DXonJet markets "3D Relief, Anti-collision" as a core technology highlight. Brands that lead with this language are telling you that head protection logic is built into the motion controller, not added on as an afterthought.
What Anti-Collision Means at the Component Level
A solid anti-collision system includes a mechanical micro-switch or force sensor mounted ahead of the printhead carriage. Response time from contact to motion stop: under 0.1 seconds. At normal wall printing speeds, that margin is what separates a recoverable pause from a destroyed nozzle plate.
At the excellent tier, the controller doesn't just stop. It auto-retracts 5–10 mm in Z, logs the collision event, and can remap the local path to skip the obstacle area — as long as the software supports contour-based masking.
The procurement checklist lines that matter:
- Sensors: quantity ≥2, type (laser preferred over ultrasonic), sampling rate ≥50 Hz
- Anti-collision: reaction
time <0.1 s, auto-stop + alarm + auto-backoff confirmed
- Z-axis drive: servo with encoder feedback, minimum step ≤0.1 mm
- Surface language in specs: Look for "curved surface tracking," "automatic positioning," or "surface adaptation." Vague claims like "handles uneven walls" with no sensor specs attached are marketing copy, not engineering data.
Machines built to this standard hit ≥95% image consistency — line thickness, color density, edge sharpness — across non-flat surfaces with no manual Z adjustment between passes. That's the number that matters on a subway wayfinding wall or a mildly inclined exterior facade.

Wall Printer Software Compatibility and RIP Workflow Integration
Hardware gets all the attention. Software is where production breaks down.
A wall printer without a capable RIP workflow is a fast car with no steering. The RIP — Raster Image Processor — is the translation layer between your designer's Photoshop file and ink on a wall. Get it wrong and you're reprinting jobs, chasing color mismatches, and segmenting oversized graphics by hand with a spreadsheet and a prayer.
Here's what the software stack needs to do — and the clear line between acceptable and good.
The Minimum You Should Accept
File format support is your first filter. Any commercial wall printer RIP must handle JPG, PNG, TIFF, and PDF as standard imports. PDF and TIFF are the workhorses of professional print workflows. A RIP that can't handle either isn't ready for commercial work.
Operating system: Windows 10/11 compatibility is non-negotiable for most production environments. Some platforms extend to macOS — useful, but secondary. Vendor-proprietary wall printer software runs on Windows first. That's the standard.
Core console functions should include scaling, rotation, mirroring, nesting, and a live job status monitor. These aren't advanced features. They're the baseline toolkit for placing a large mural on a wall without waste and without guesswork.
What Separates a Good RIP System from a Basic One
Two things push a software stack from acceptable to excellent: ICC-based color management and centralized workflow control.
Without ICC profile support, your color on-screen and your color on the wall tell two different stories. Color shift between substrate types — concrete versus tile versus plaster — is real and predictable. A solid RIP lets you load a surface-specific ICC profile, run custom color correction, and hit a ΔE < 3 against your client's brand swatch. Without it, you're guessing on every job.
Centralized control matters once you're running more than one machine — or pushing one machine at high volume. CalderaRIP's architecture is the reference model here: a hardware-independent dashboard where one operator sees printer status, job queue, color processing, and output control from a single screen. ONYX Graphics takes compatibility further, with support for 2,000+ printers and cutters and full ICC management built in.
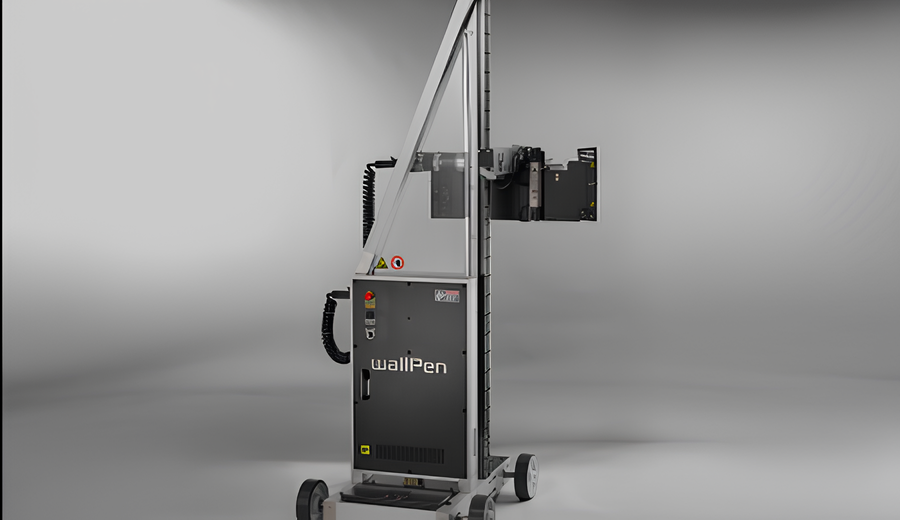
The Wallpen approach works differently: a proprietary all-in-one interface that combines RIP processing and printer control in one window. Left panel loads the file. Right panel manages the print. Fewer handoffs between separate tools means fewer places for errors to enter the workflow.
The Failure Modes Worth Screening For
Some RIPs do nothing more than rasterize bitmaps — converting your file to dots with no color management or layout logic. The output gets on the wall. The colors don't match the proof. No one can explain why. Clients don't come back.
Segmenting oversized wall graphics by hand, without strong nesting and alignment tools in the RIP, turns seams between wall sections into a visible problem. That's a rework conversation that eats an afternoon and a margin.
Fragmented workflows — one tool for RIP, a separate utility for printer control, a third app for color profiles — stack up the chances of something going wrong between steps. Integration isn't a luxury feature. It's a risk management decision.
The Benchmarks
Pass threshold:
- PDF and TIFF import as confirmed formats
- Windows 10/11 compatibility verified against your hardware config
- Console includes scale, rotate/mirror, nesting layout, and job progress monitoring
- Basic ICC profile loading per substrate type
Excellent threshold:
- Full ICC color management with custom substrate profiles and ΔE-targeted correction
- Single-dashboard multi-printer control — one operator, multiple machines, one screen
- Combined RIP + machine control in one interface with no separate utility apps in the workflow
- Clean import path from Photoshop/Illustrator with no intermediate format conversion required
- Vendor onboarding documentation that gets a new operator productive without a week of troubleshooting
Software evaluation doesn't end at the spec sheet. Ask the vendor to walk you through a live file import — a layered PDF with spot colors — processed through the RIP onto the machine. Watch how many steps it takes. Count how many separate windows open. An operator who needs three tools to complete one job creates friction. That friction builds across every workday you own the machine.
For first-time operators, software simplicity can matter as much as print resolution. A system like WallPrintBox is useful here because it focuses on an integrated workflow instead of forcing new users to manage several disconnected programs. When file import, positioning, scaling, and print control sit in one simplified environment, the operator makes fewer mistakes during the first weeks of use. That does not remove the need for training, but it lowers the technical barrier for turning a machine into paid work.

After-Sales Support Network and Critical Spare Parts Availability
The machine stops mid-job. The print head is dead. Your client's wall is half-finished and they have a grand opening in 48 hours.
What comes next depends on a decision you made months ago. You were browsing brochures instead of asking hard questions about spare parts logistics.
The Numbers That Protect Your Business
Critical parts availability rate is the metric most buyers never ask for. The formula is straightforward: parts requests filled on time, divided by total parts requests. The industry threshold is ≥90%. Suppliers with strong networks hit 95–98%. Drop below 90%, and unplanned downtime on paid jobs is not a risk — it's a certainty.
The next number to check is stockout rate. Acceptable ceiling: ≤5% on critical components. Strong suppliers hold it at ≤2%. A supplier who can't give you these figures is giving you an answer already.
This is where business-ready packages become valuable. WallPrintBox-style wall printing systems bundle the printer, software, consumables, training materials, and operating guidance into one purchase path. For new operators, that structure reduces the chance of buying compatible-looking parts from different suppliers and then discovering workflow or support gaps after delivery. The machine still needs a spare-parts plan, but the onboarding risk is lower than with a bare OEM unit.
Response SLAs Worth Writing Into the Contract
Verbal promises disappear. Get these terms in writing before you sign:
Remote response: ≤4 hours initial reply on any fault report
Solution or parts plan: ≤24 hours from fault submission
Critical parts shipment: ≤7 days — hard ceiling, not a target
Regional warehouse stock: same-day or T+1 dispatch for print heads, mainboards, driver cards, and sensors
Suppliers with regional stocking facilities can cut delivery down to 48–72 hours in most markets. Suppliers without them quote "7–14 business days" and count on you not noticing until after you've signed.
First-Time Fix Rate: The Hidden Efficiency Metric
FTFR (First-Time Fix Rate) measures how often a technician fixes a fault on the first visit. Target: ≥80–85%. Below that, the supplier sends technicians without the right parts. Your machine sits idle. You wait for a second visit.
A strong FTFR needs a stocked technician kit — not just a stocked warehouse.
The Pre-Purchase Checklist
Before committing, get written answers to all of these:
Warehouse location — which critical SKUs (print heads, mainboards, sensors) sit in regional stock vs. ship from the origin factory
Documented delivery accuracy rate against SLA commitments (target: ≥95%)
MTTR target (Mean Time to Repair) with a contractual commitment — strong suppliers target MTTR ≤48 hours
7×24 remote diagnostics availability — not business-hours-only support
Training documentation package: operator SOP, maintenance schedule, fault self-diagnosis checklist
One benchmark worth watching: suppliers running a full onboarding package — equipment, software, consumables, training, and a case library — cut new-operator ramp time to 1–3 days. Faster operator competency means fewer misuse-driven parts failures and fewer emergency procurement events.
A supplier who refuses to put these figures in a contract is not protecting their service standard. They're protecting their room to underdeliver.
Investment Framework and Scoring Checklist for a Good Wall Printing Machine

Seven indicators. Eight hours of research. Thirty conversations with suppliers. And the wrong machine still ends up on the wrong job site. Why? The buyer evaluated a product instead of a business.
That's the real failure mode. Not bad specs. Bad framework.
A wall printing machine is a revenue system. The purchase price is the entry fee. What decides whether the investment works — or slowly drains your cash — is everything that follows: ink cost per square meter, downtime frequency, software licensing terms, spare parts lead times, and the speed at which you move from one paid job to the next.
The Numbers That Frame the Investment
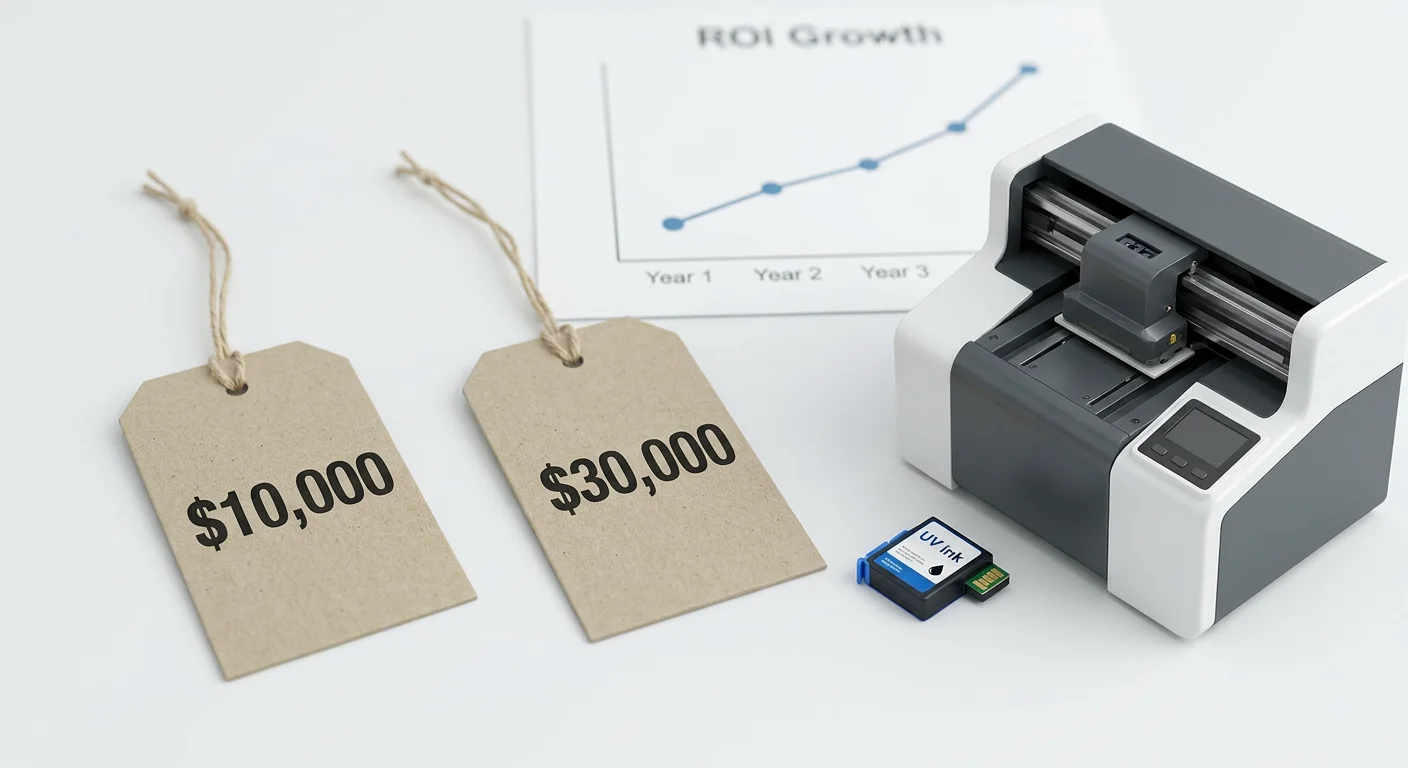
Start with total startup outlay. Equipment, consumables, and basic training together should land in the $15,000–$25,000 range for a lean-entry commercial setup. Some packaged business-in-a-box models cite $50,000-plus as a total investment figure. That's not a bad number by default — but it means the machine needs to work harder, faster, and with less margin for error.
Two unit economics targets are non-negotiable:
Ink and consumables cost: ≤ $0.4/㎡ — verified against actual job logs, not supplier estimates
Market selling price: ≥ $50/㎡ — validated by local competitor quotes and signed customer contracts, not brochure projections
A well-chosen machine should reach cash-flow positive within 3–4 months under standard use. A supplier ROI model that needs unrealistic job volume to hit that number is protecting their sale, not your business.
The 32-Point Scoring Matrix
Score your candidate machine across 32 criteria on a 0–5 scale before any purchase decision. Maximum total: 160 points.
Decision bands:
Score | Decision |
|---|---|
≥ 130 / 160 | Strong investment candidate — proceed |
100–129 / 160 | Negotiate hard or add budget safeguards |
< 100 / 160 | Reject or push for a lower price |
Highest-weight criteria:
Industrial-grade printhead certification — 5 points
Measured print speed under standard commercial conditions — 5 points
Third-party outdoor ink weathering report — 5 points
Dual-sensor wall distance tracking accuracy — 4 points
Permanent RIP software license (not subscription) — 4 points
Local spare parts stock with documented response time — 3 points
Full per-㎡ cost model including labor, maintenance, and travel — 3 points
Training completeness and handover quality — 3 points
These eight dimensions make up the bulk of your weighted score. They also cover the categories where suppliers hide risk most often.
For buyers who are not ready to build every part of the workflow from scratch, a bundled system such as WallPrintBox wall printer can score well in the startup-readiness category. Its value is not only the machine itself, but the combination of hardware, software, starter consumables, training, and business tools. That matters most for first-time operators who need to reduce setup mistakes, shorten the learning curve, and reach the first paid job faster.
The Go / Pause / Reject Filter
Go — the machine shows startup cost in range, sub-$0.4/㎡ consumables, ≥$50/㎡ pricing in your market, a clear path to cash-flow positive by month 3–4 documented support infrastructure, and a score of ≥130/160.
Pause and renegotiate — landed cost exceeds the target band, consumables lack job-level documentation, software carries ongoing licensing fees, or spare parts ship from a distant overseas warehouse. A score of 100–129 puts you here.
Reject — total score falls below 100, the vendor can't show real-world throughput, or all reliability evidence is marketing materials and demo videos with nothing independent to back it up.
One final filter worth naming: the best market research isn't a competitor analysis. It's a signed contract. Before finalizing any purchase, confirm that your target customer segments — interior décor, retail branding, hospitality, commercial murals — will pay your target rate. Check this before you commit. In the first 12 months, a viable machine should support three or more repeatable industry segments at gross margin ≥ 75% after ink, labor, travel, prep, and maintenance.
The scoring matrix keeps you honest. The signed contract keeps you solvent.
Which Type of Buyer Needs a Business-Ready Wall Printer?
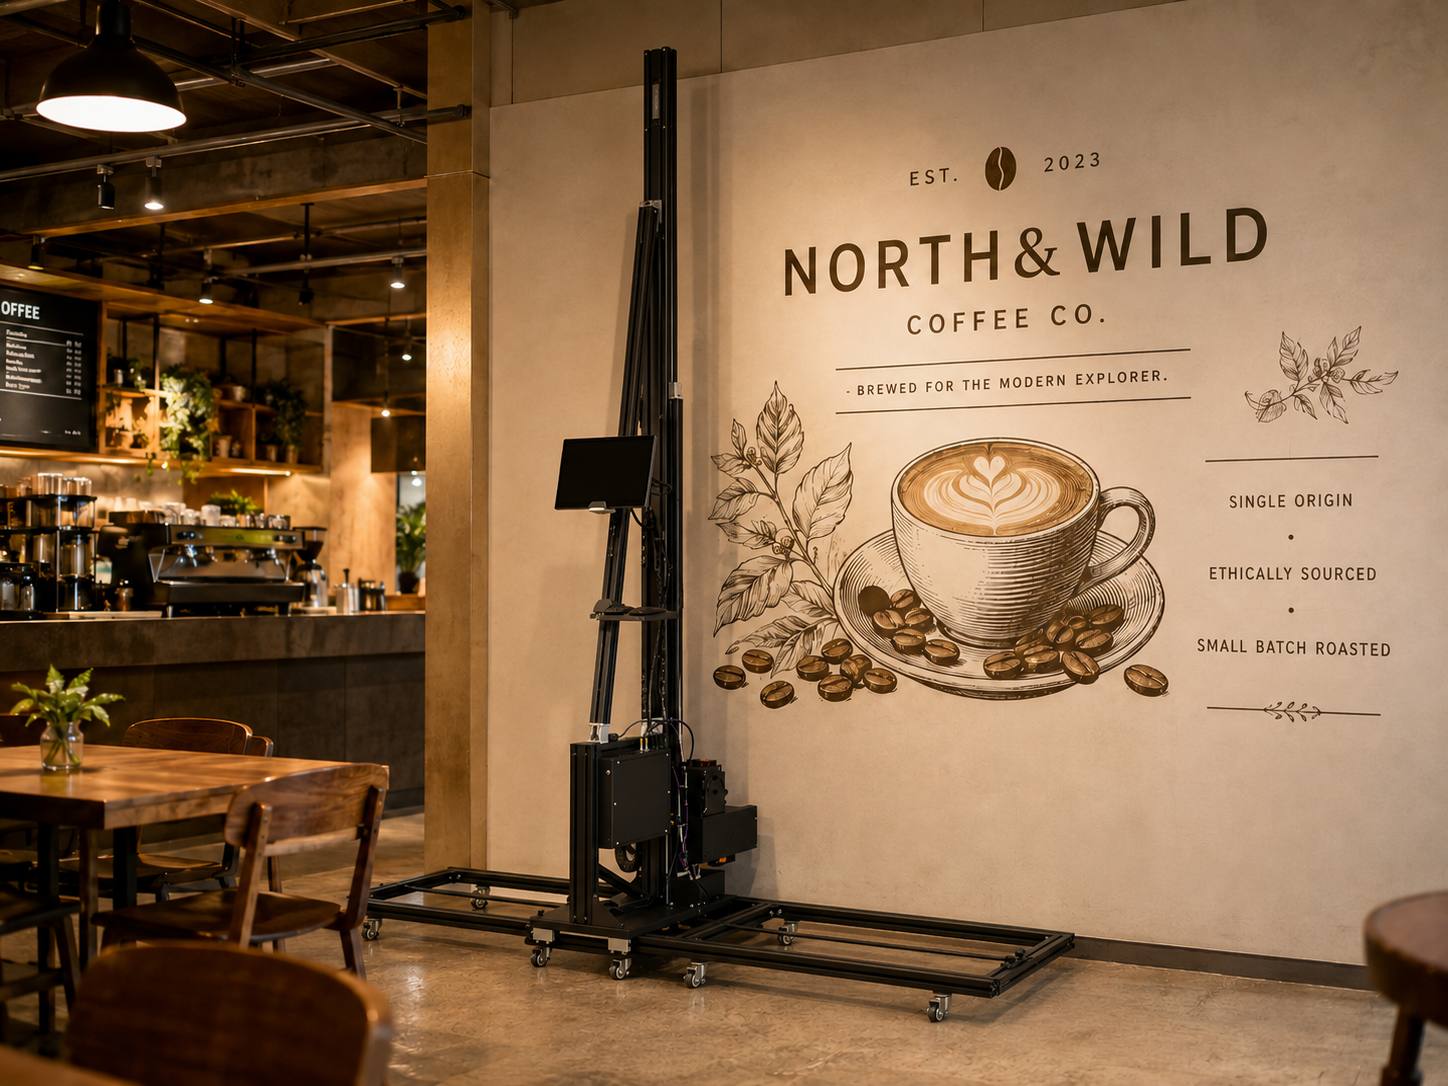
Not every buyer needs the same level of machine. Experienced print shops may prefer open systems with deeper RIP control and more technical flexibility. First-time wall printing operators usually need something different: a stable machine, simple software, starter consumables, training, spare parts guidance, and a clear operating workflow.
That is where WallPrintBox fits naturally. It is not just positioned as hardware, but as a business-ready wall printing system for operators who want a shorter path from delivery to paid work. For buyers comparing machines, this should be scored under startup readiness, not just hardware specification.
Conclusion
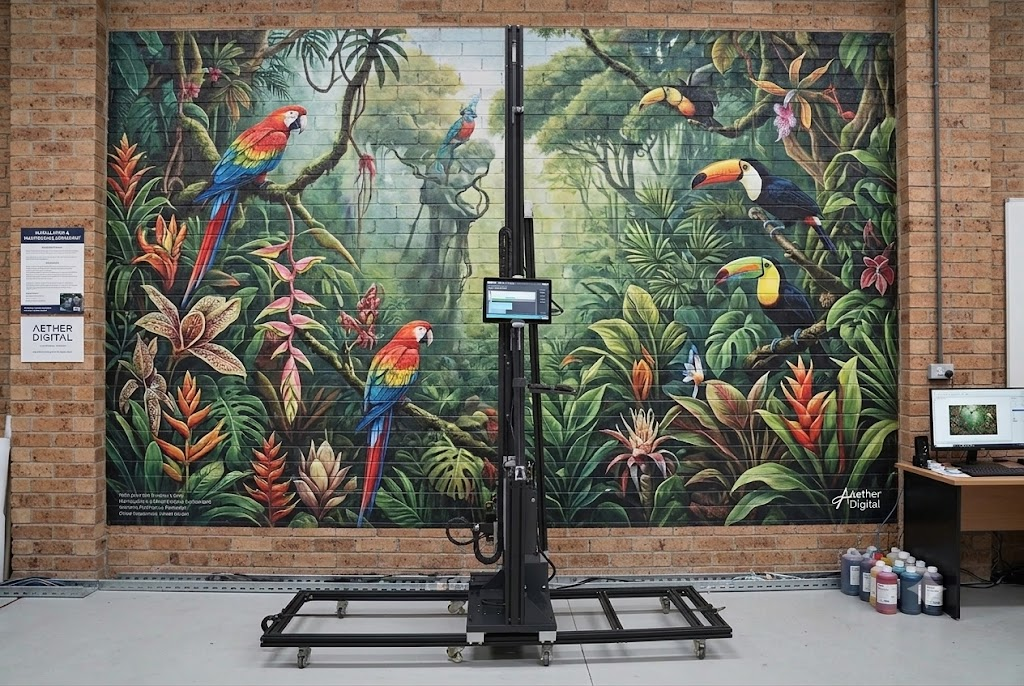
Every wall printing machine on the market comes with a brochure full of bold claims. Some machines build a business. Others drain it. The difference comes down to eight technical realities — and whether you asked the right questions before signing anything.
You now have the framework. Print head lifespan. Commercial-grade resolution thresholds. UV ink weathering standards. Software that works with your workflow, not against it. These aren't optional extras. They're the exact points where cheap machines break down under real operating pressure.
Run every candidate through the scoring checklist in this guide before you request another quote. A supplier who can't give you clear answers about wall printer print head quality or nozzle replacement lead times is telling you something. That hesitation is your answer.
The best wall printing machine isn't the one with the lowest price tag. It's not the one with the most impressive demo video either. It's the one still printing clean lines at full speed eighteen months from now.
That's the one spec that matters.
Ready to compare real wall printer options against this checklist? Request a recommendation based on your budget, target jobs, and support requirements before you buy.