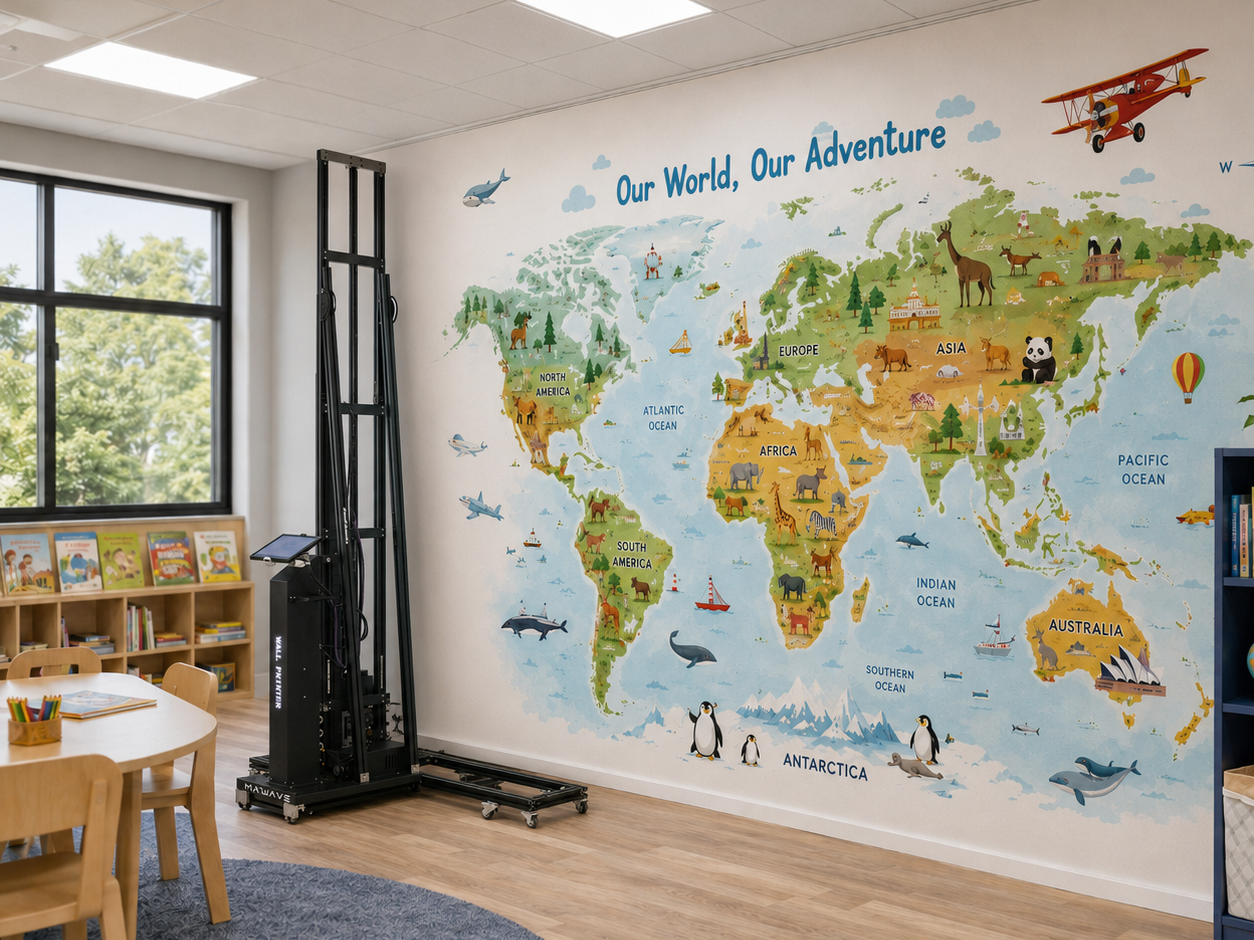
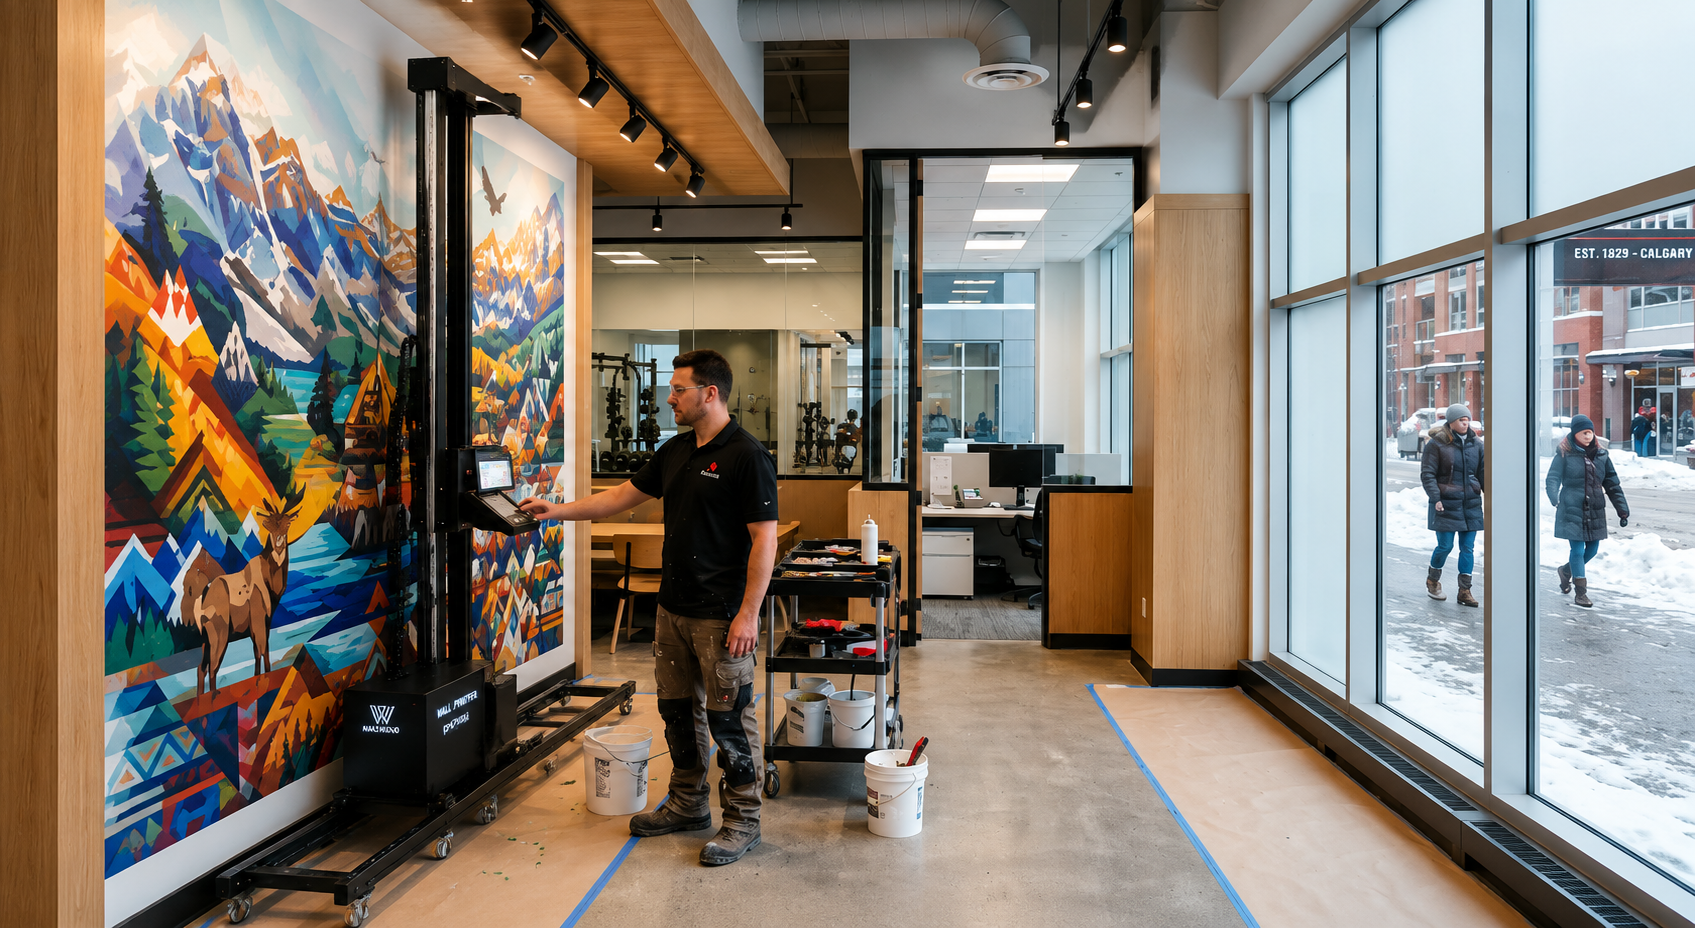
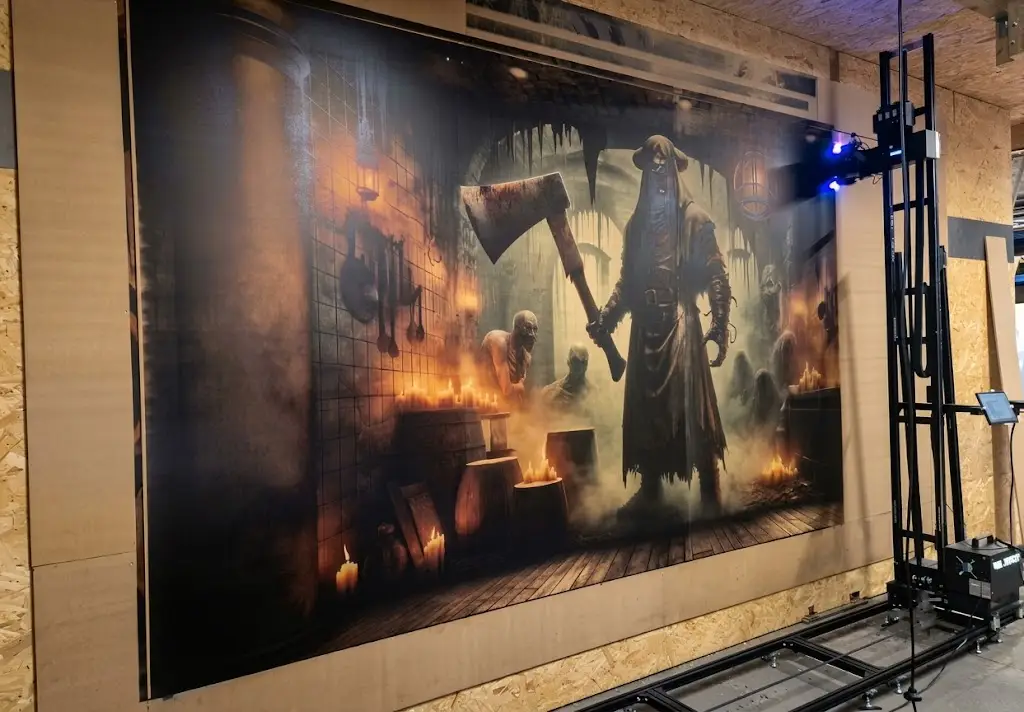
Three hours after unboxing, I had never touched a wall mural printer in my life—and I was staring at my first finished print, wondering if I’d actually just done that.
That’s the honest starting point for most beginners weighing this purchase. You’re asking because $8,000+ is on the line, and nobody wants to be the person who bought a printer they can’t operate.
Minute by minute: the real setup process, the exact spot where the software interface stopped making sense (and how long it took to fix), and why the learning curve looks nothing like the marketing pages promise. No fluff. Just what you’ll actually experience, and how fast you’ll get paid for it.
The 30-Minute Setup: From Unboxing to First Template
Minute by minute.
Minutes 0-5: Box open, printer out, workspace cleared. I lifted it by the foam padding, not the print head. Glad the manual mentioned that twice.
Minutes 5-10: Power cable in, USB connected, machine booted. This is the easy part. Every wall printer setup looks the same here. You plug it in, wait, and the green light comes on.
Minutes 10-15: Software installed, printer paired. This is where the wall printer software interface either clicks or doesn't. Mine asked for wall dimensions (height, width, in inches) and surface type. Click-to-select, no typing required.
Minutes 15-20: Template library opened. 47 prebuilt designs sorted by category, like kids' rooms, accent walls, and commercial logos. I picked one. Zero design skills needed here.
Minutes 20-25: Calibration. This is the only step that involves real calibration. A test strip prints, then you check alignment against a grid on-screen. Took two tries.
Minutes 25-30: Template loaded, preview confirmed, printer primed. First print queued.
Task | Time | Click or Type? |
|---|---|---|
Unbox & position | 5 min | N/A |
Power + USB connect | 5 min | Click |
Wall dimensions input | 5 min | Click-select |
Template selection | 5 min | Click |
Calibration | 5-8 min | Click + adjust |
Load & preview | 5 min | Click |
Thirty minutes, one template, zero Photoshop.
What a Real Zero-Experience User Learns in the First 2 Hours
The real learning happens after the first print, not before it.
Minutes 30-60: I ran a second template. Different room, different surface type—textured drywall instead of smooth. This is where the wall printer learning curve shows up. The software flagged a warning: "Surface texture detected, adjust ink saturation." I had no idea what that meant. I clicked the suggested auto-adjust button and printed anyway. It worked.
Minutes 60-90: I made my first real mistake. I loaded a template sized for a 9-foot wall onto an 8-foot wall. The preview screen caught it before I hit print—red border, "dimension mismatch" alert. I resized with a slider, no math required. This is the safe-mistake moment every beginner needs: you mess up, the wall printing machine tells you, and fixing it takes under two minutes.
Minutes 90-120: I stopped following instructions and just explored. I tried the text tool, tried layering two templates, and renamed a saved project. None of this was taught to me directly. I'd absorbed enough vocabulary—calibration, saturation, surface profile—to navigate on my own.
By the two-hour mark, here's what stuck:
The core workflow: dimensions → template → calibrate → print, repeatable without hesitation
One safe-mistake recovery: dimension mismatches self-correct before printing, not after
Basic terminology: enough to read the manual without translating every third word
15 minutes of independent practice: no manual open, no hand-holding
Total training time to functional competence: two hours, one mistake, zero outside help.
The 5 Most Common Beginner Mistakes (And the Exact Steps to Fix Each)
Every beginner hits the same five walls. I hit all five in my first week, and fixing them took under 15 minutes each.
1. Skipping the calibration recheck after moving the printer
The first calibration sticks until you roll the printer to a new wall. Skip re-calibrating, and your print shifts 2-3mm, enough to blur fine text.
Fix: Run the test strip every time you reposition. It takes 90 seconds and is non-negotiable.
2. Trusting the default ink saturation on textured surfaces
Smooth drywall, textured plaster, brick, and concrete require different ink settings. Wall-adaptation systems control the printhead distance but do not automatically adjust ink density, so check the surface profile, pass count, and white-ink settings whenever the material changes, and run a small test print when unsure.
3. Eyeballing wall measurements instead of remeasuring
I trusted my landlord’s “it’s basically 9 feet” and got a dimension mismatch alert. Not every wall is measured tape-in-hand.
Fix: Remeasure with an actual tape measure, twice, before inputting dimensions. The software catches gross errors, not small ones.
4. Overwriting saved templates without renaming first
The software auto-saves to the last opened file. Tweak a template for Client B without renaming it, and Client A’s design is gone.
Fix: Rename immediately after opening any saved project, before you touch a single tool. It takes 5 seconds and saves hours of redesign.
5. Ignoring the print head warning before the first job of the day Print heads that sit idle overnight need a priming cycle. Skip it, and you get faint horizontal banding on your first print. Fix: Run the built-in priming sequence every morning before job one. It’s a single click. Ignore the warning icon, and you’ll reprint the whole mural.
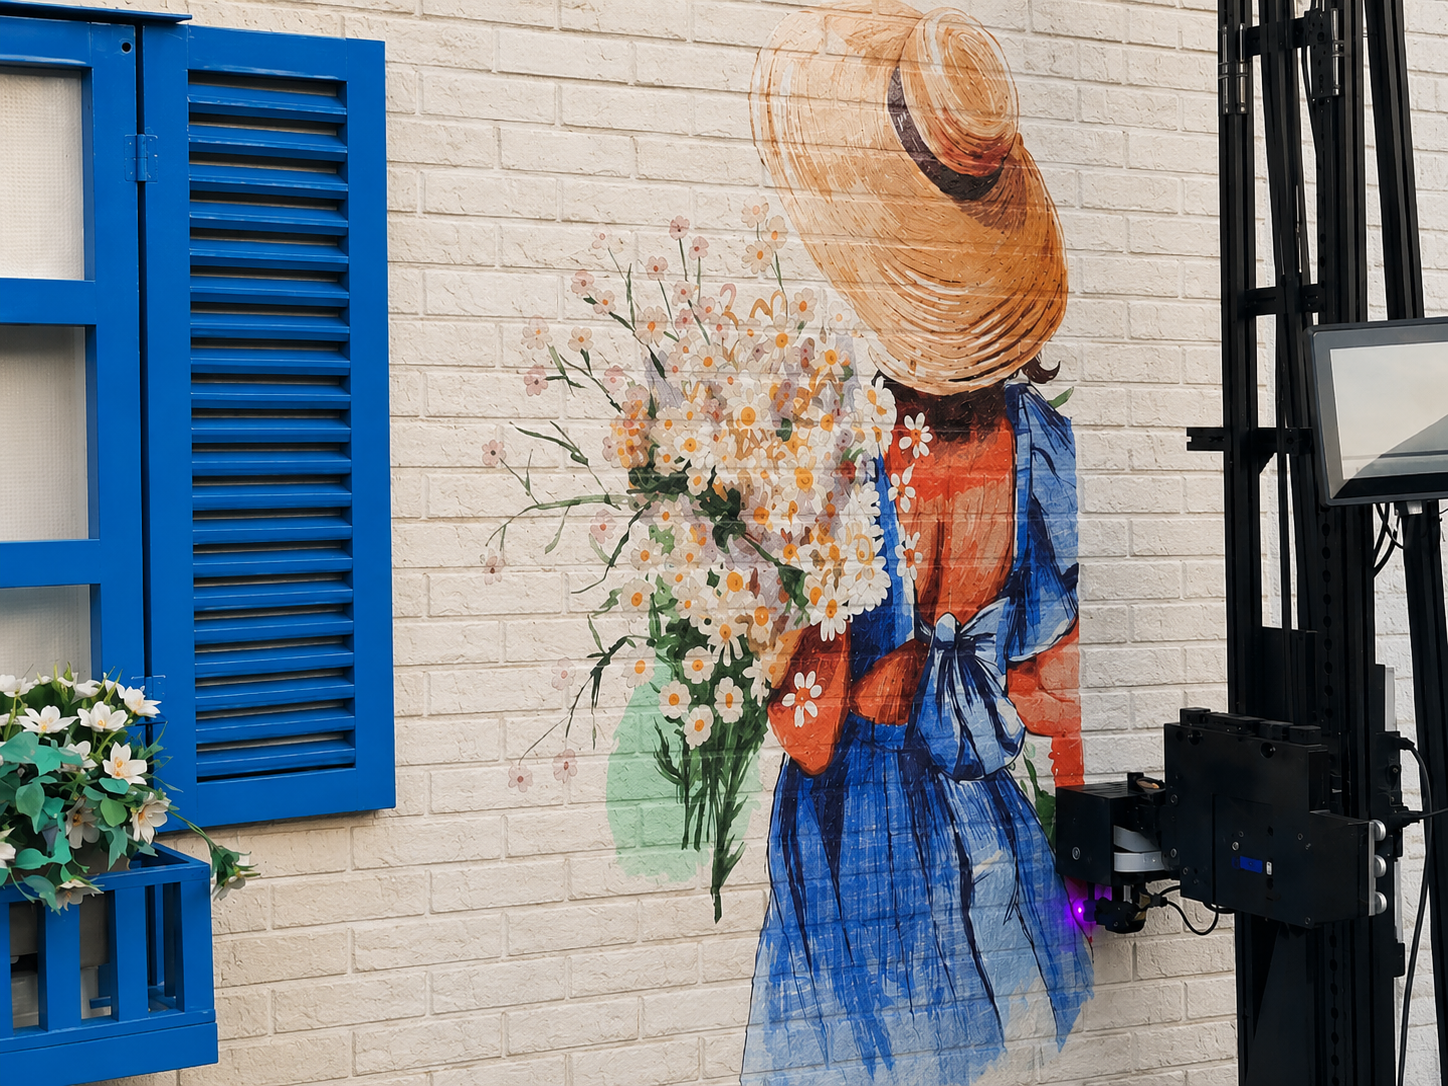
Software Showdown: Click-Driven vs Parameter-Driven Interfaces
Not all wall printer software interfaces work the same way under the hood, and that difference decides whether your first week feels like using an iPad or debugging a spreadsheet.
Click-driven interfaces are what I used. Point, select, done. Wall dimensions? Click a preset or drag a slider. Surface type? Choose from a dropdown. Template selection? Click and preview. My printer's software never once asked me to type a number I didn't already understand. That's the whole appeal—low typing, high visual feedback, and you're never guessing what a field wants.
Parameter-driven interfaces work differently. Instead of clicking through visible options, you're typing exact values into fields, sometimes chaining multiple inputs together like a command line. You enter precise ink saturation percentages manually, or type coordinate offsets for multi-panel alignment instead of dragging them into place.
Here's the honest tradeoff. Click-driven wins for beginners because it removes guesswork—you see your options, you pick one, the software handles the math. Parameter-driven wins for repeat jobs at scale, because typing exact values into a saved script is faster than reclicking through menus fifty times.
For someone with zero design background asking "is a wall printer easy to use," the answer hinges almost entirely on this split. Machines built click-first get you printing in 30 minutes. Machines that lean parameter-heavy will add hours to your wall printer training time, because now you're learning syntax, not just software.
WallPrintBox Learning Curve: Easy to Start, Broader to Master
WallPrintBox sells you a business, not a printer.
It's a "Business-in-a-Box" system that bundles the machine, software, ink, training, marketing tools, and ROI planning into one purchase. Starter packages run $7,000–$8,400, and complete packages land in the $13,900–$20,900 range depending on shipping and onboarding. On the FOB side, machine pricing spans USD $5,500-12,500 across the GP200I Starter through the GP200X.
WallPrintBox is a 2-in-1 system. It handles vertical wall murals and horizontal floor graphics on one machine. So there's more capability to learn, not less.
But the real learning curve isn't the software. It's wall assessment—confirming primed, clean surfaces with no loose paint, then collecting proper artwork files and dimensions before you print a single square inch.
Industry benchmarks put basic assembly and software workflow at 2-3 days of intensive training. The harder skill—reading uneven floors and problematic textures—takes longer. At an estimated PLN 3,000 per day in operator revenue potential, the system rewards patience over speed.
The Desktop Printing Alternative: 3 Plug-and-Play Features for Design-Free Users
Zero design skill filters which machine you buy.
The broader printing world already solved this problem outside wall murals. Formlabs' Form 3+ ships "literally plug and play," pairing with PreForm software that uses validated, material-specific settings so nobody tunes anything manually. Bambu Lab wall printer machines get called "the nearest to that level" of true plug-and-print by actual users, no calibration guesswork required.
That same logic applies to wall printer beginner tips. Look for these three feature clusters before you buy:
1. Pre-validated cloud profiles. Templates and surface settings that auto-adjust, so you don't fill in raw parameter fields blind.
2. Parametric, SKU-driven generation. You pick size and style; the system builds the file. No design software needed.
3. Autonomous job handling. Systems like SimplyPrint’s AutoPrint auto-queue the next print with AI failure detection catching bad first layers before you waste ink or wall space.
Machines with all three cut your wall printer training time from days to hours. Machines missing them push you back toward parameter-driven guesswork—exactly what beginners can't afford.
How Long Before You Can Print Your First Paid Job? A Time Breakdown by Background
Not everyone starts the clock at zero.
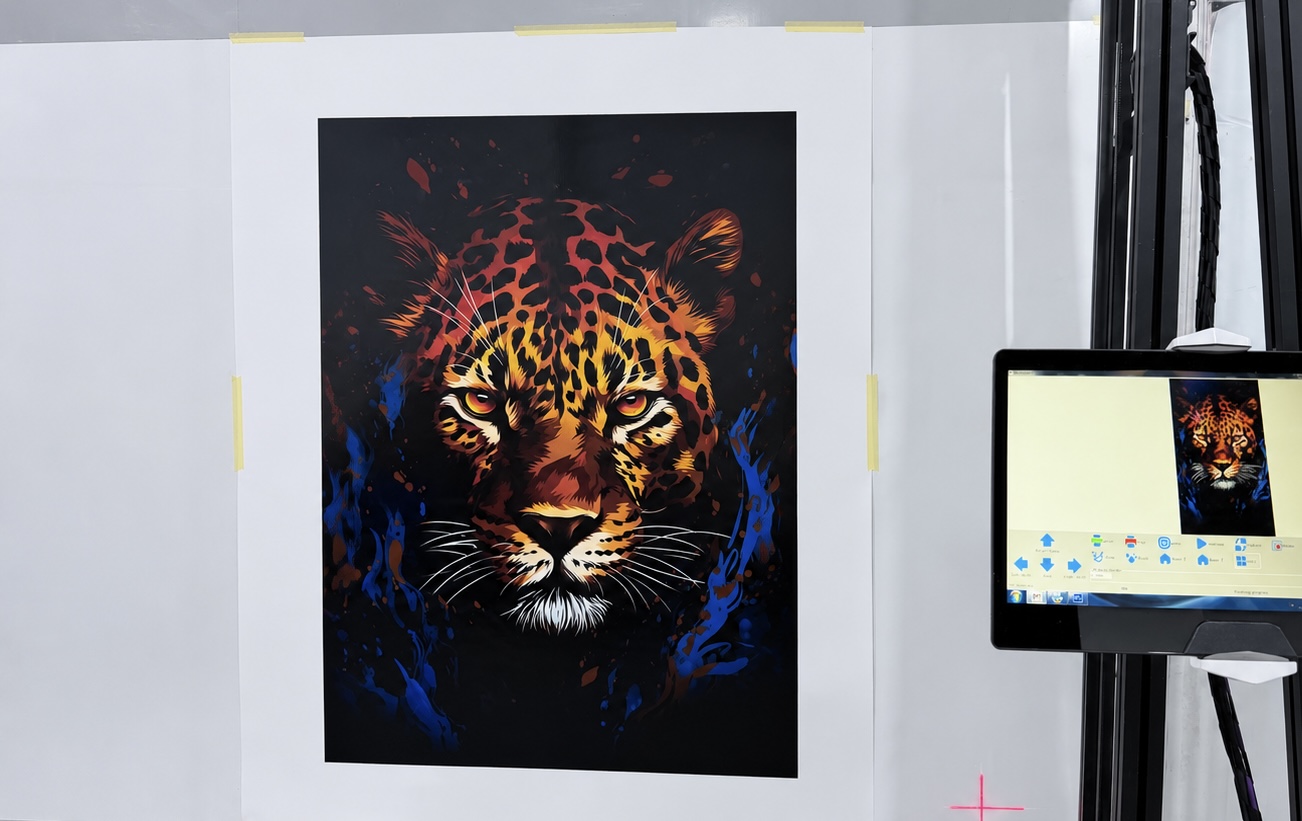
With the WallPrintBox wall printer, even users with no previous wall printing experience can usually learn the basic operating workflow in about 30 minutes. This includes starting the machine, importing artwork, setting the print size, positioning the printer, and producing a test print.
However, learning the controls is not the same as being ready for every customer project. Operators should also understand wall inspection, artwork scaling, print settings, white-ink use, and basic maintenance.
Operator Background | Learn Basic Operation | Recommended Practice Before Paid Work |
|---|---|---|
No design or printing experience | About 30 minutes | 4–6 hours |
Photoshop or Canva experience | 20–30 minutes | 2–3 hours |
Sign-making or printing experience | 15–20 minutes | 1–2 hours |
Unrelated work background | About 30 minutes | 4–6 hours |
WallPrintBox is easy to learn because the machine, software, training, and standard workflow are provided as one structured system.
Around 30 minutes is usually enough to understand the basic operation. The skills that require more practice are evaluating different surfaces, preparing artwork, and selecting the correct print settings.
Before taking a paid job, new operators should complete at least one full practice project—from wall inspection and file setup to test printing, final output, and cleaning.
What Should You Be Able to Do After One Week?
After several days of regular practice, most beginners should be able to complete routine tasks without repeatedly checking the manual. These include calibrating the printer, entering wall dimensions, selecting the correct surface settings, preparing basic artwork, responding to common alerts, and completing daily cleaning.
More experience is still needed for textured walls, difficult materials, white-ink adjustment, and large multi-section murals. The basic controls are quick to learn; reliable surface assessment and consistent project execution develop through real practice.
Conclusion
A wall printer is easier for beginners to use than many buyers expect. With guided training, the basic workflow—setting up the machine, importing artwork, positioning the image, calibrating, and completing a test print—can be understood in about 30 minutes.
The harder part is not operating the software. It is learning how to inspect different walls, prepare artwork correctly, choose suitable ink settings, and respond to common printing issues. These skills improve quickly through a few complete practice projects.
You do not need a design degree or previous printing experience, but you should complete at least one full test project before accepting paid work.
Want to see how quickly you can learn the WallPrintBox wall printer? Send us your experience level, target applications, and common wall materials. We can demonstrate the complete workflow, recommend the right machine configuration, and explain the training and support included with your package.